

WP Job Manager is a great plugin to manage job listings with WordPress. You can add new jobs from the admin panel or allow your users to post jobs. To see the full list of features, visit the WP Job Manager plugin homepage.
If you want to notify a user who submitted a new job to your site when it got published, our plugin Post Status Notifier can come in handy. You can define custom notification rules for almost any case and with the new version 1.5 you can even layout nice HTML emails in your blog design.
Setting up a “debug notification rule” to track all Post Status transitions
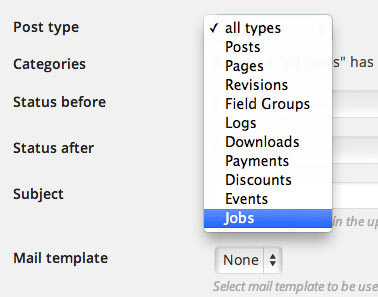 Before we start to configure our notification rules, it is very useful to setup a rule which will match in any job status change, I call it a “debug rule“. This is very easy. Just use the example rule button “The pedantic admin” which will fill all the necessary options to match any post status change (It will set status before to “anything” and status after to “anything”). The only thing you have to change is the Post Type which should be set to “Jobs” of course.
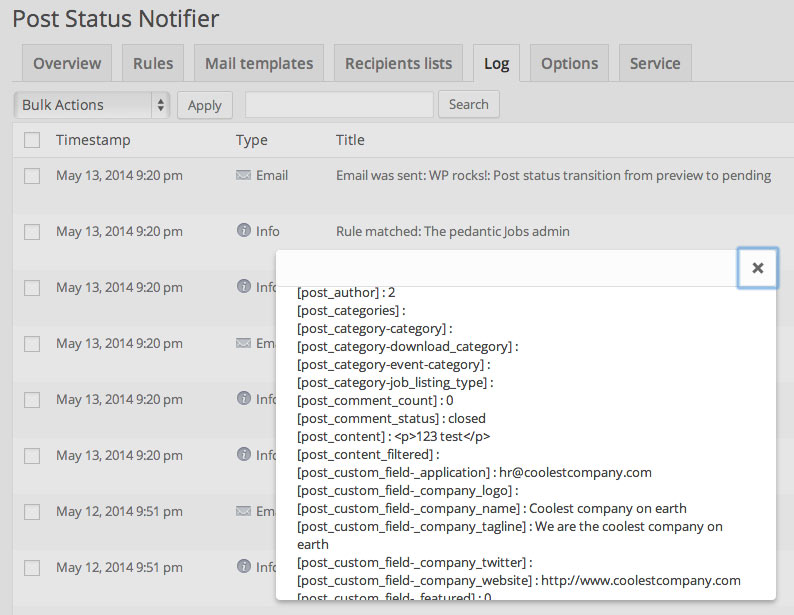
If you now add or edit a job via front end submission form or admin panel you will get log entries and can see exactly what happened. To get all the information about the post you can access from a notification rule, activate the option “Log rule matches” in Post Status Notifier’s options. This will create an extra log entry with a list of all placeholders and their values you can use in notification rules.

Creating a confirmation notification for job submitters
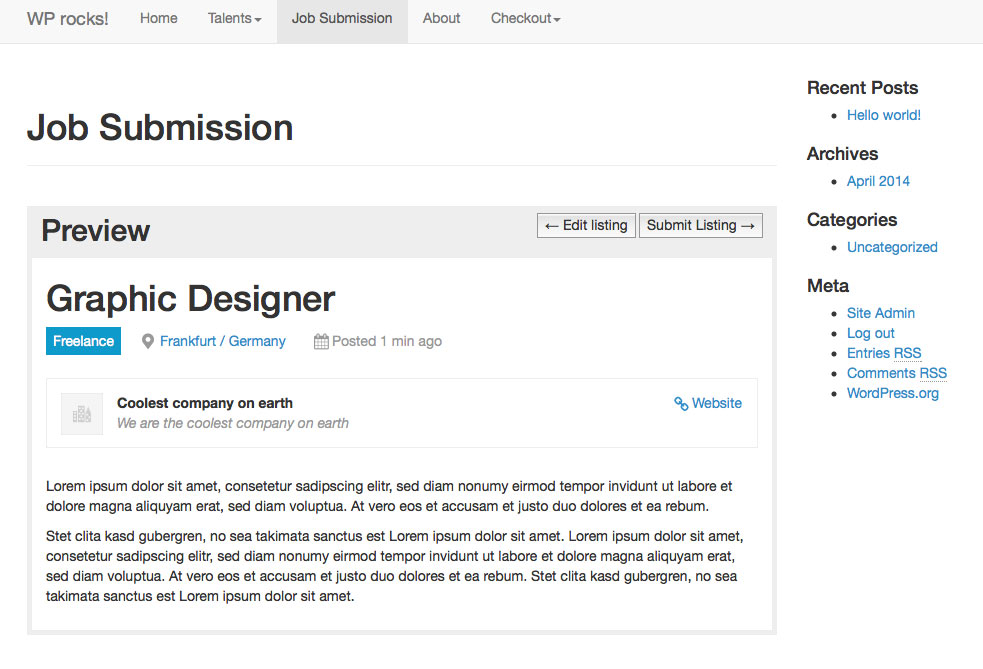
Now let’s see what happens, if we use WP Job Managers Job Submission feature. First the user has to fill the form and click the button “Preview“. If everything is fine, clicking the button “Submit Listing” will finally submit the new job listing.
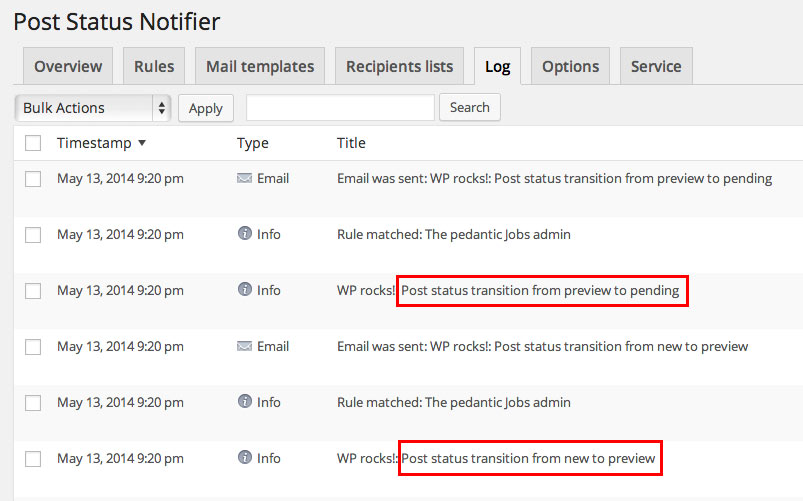
A look into the “Log” section of Post Status Notifier will show some new log entries. The interesting part is to see the post status transitions. The job listing preview mode created a status transition from “new” to “preview“, submitting the job listing triggered a transition from “preview” to “pending“.
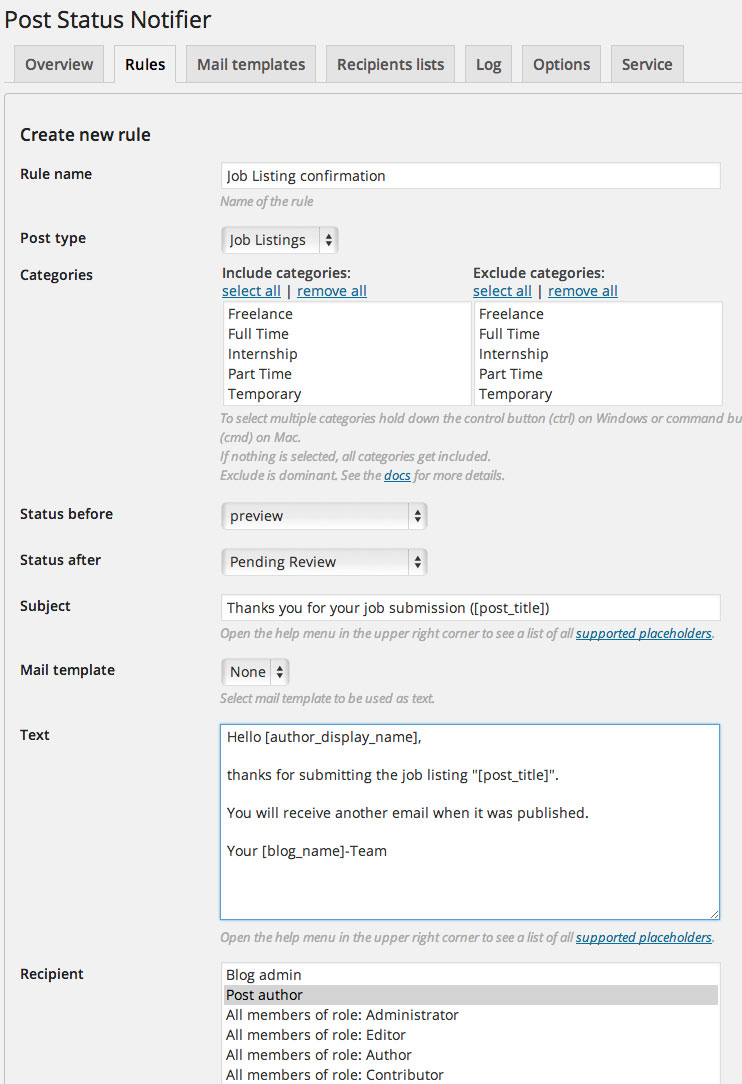
With this information we now can create a notification rule to send a confirmation mail to the submitter to let him know that the new job listing has been saved and will be reviewed. For this rule “Status before” must be set to “Not pending” (which would include both “new” and “preview”) and “Status after” to “Pending Review” (see the screenshot). The recipient should be the “Post author” who in this case is the user who created the new job listing (which is a Custom Post Type). The rest is up to you. You can define a custom subject and mail text or, if you want to send a nice HTML mail with your blog’s design, create a mail template and select it as text to be used.
-
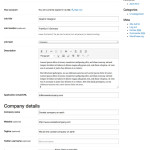
- Job Submission Form

-
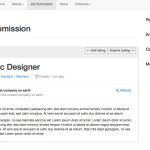
- Job Listing preview
-
- Post Status Notifier log entries
-
- Detailed log entry
-

- Confirmation rule
Approve job listing and send notification to the submitter
Next step is to approve a pending job and check the log entries again.

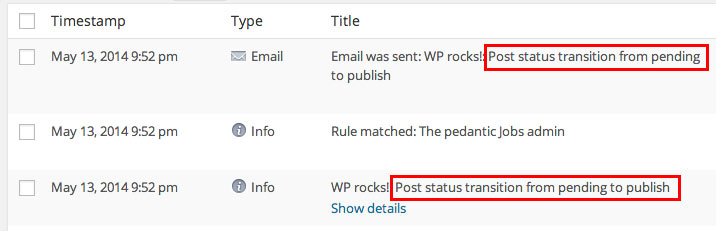
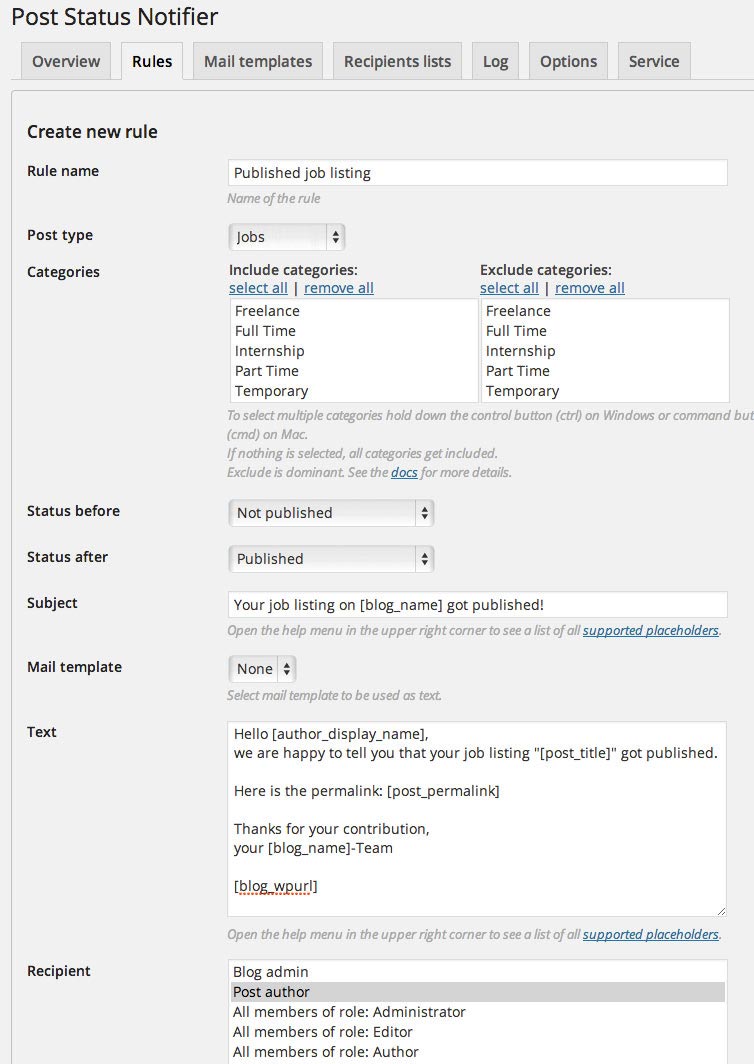
We can see a post status transition from “pending” to “publish“. With this information we can easily setup another notification rule to let the user know about his published job listing. The example rule “The happy author” already does most of the job for us. Of course we have to set “Post type” to “Jobs“. For “Status before” we can use Post Status Notifier’s custom Post Status “Not published” which matches everything but “published”. “Status after” must be set to “Published” and recipient to “Post author”.
Notification for the admin / job listing reviewer about pending job listings
Besides the user notifications, the admin and /or job listing reviewers should be informed about new pending job listings too. The settings for such a rule can be lent from the first rule we created (the user confirmation). “Status before” “Not pending” and “Status after” “Pending Review” are exactly what we need to notify about new pending listings. Therefore we can use Post Status Notifiers copy rule function in the Rules administration screen. Just hover about confirmation rule an click “Copy”. Then hover the duplicate entry and click “Edit” to adjust the rule to the admin’s need. Change subject and text to something more appropriate for the reviewer and select the recipient(s) who are in charge of reviewing the job listings. You can choose from a variety of recipients options Post Status Notifier offers you. For example you can choose a user role or a custom recipients list (or multiple options).

Conclusion
I hope that this blog post illustrates how you can use Post Status Notifer’s flexible rule settings to create the right WP Job Manager notifications for your use case. If you have any questions, please let me know.
Of course Post Status Notifier works with any other kind of WordPress Custom Post Type. To check out all the features, visit Post Status Notifier’s plugin homepage.
You can download the export file of the rules created in this post on Post Status Notifier’s resources page.
Also read: Create notifications for WP Job Manager Applications